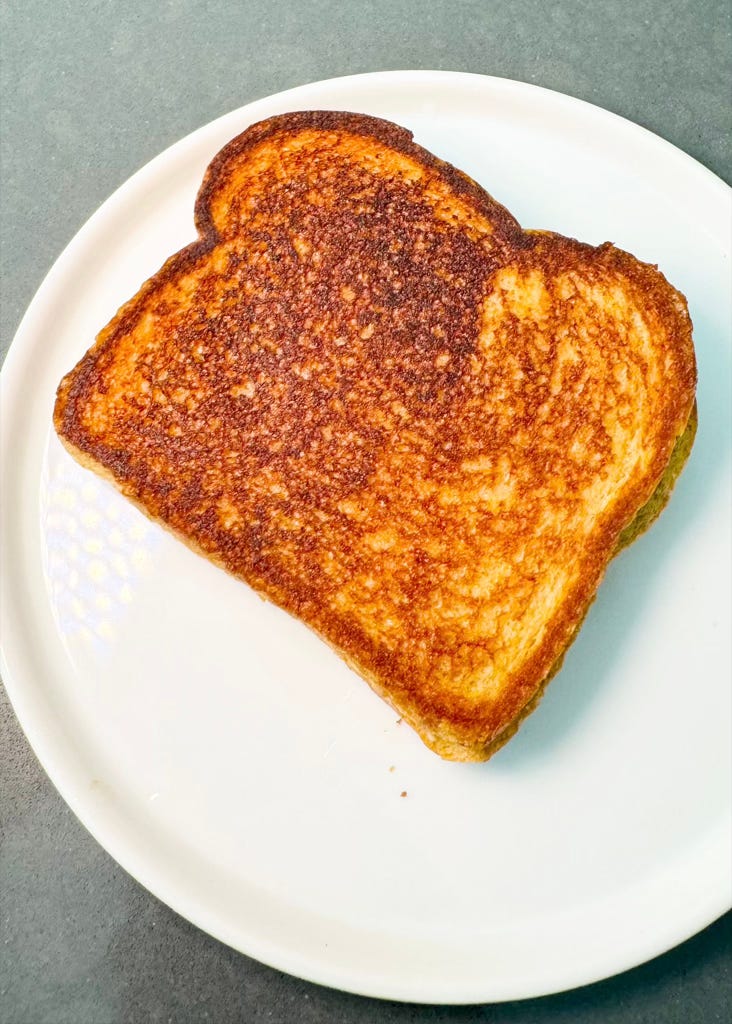
I come to you today with a helpful tip for grilled cheese. I like to think I invented it, but I probably didn’t. I most certainly didn’t. Either way, let’s say it’s a technique that occurred to me the other night.
Back in March I published a column called Grilled Cheese 101, in which I detailed - meticulously - the simple steps to make an excellent grilled cheese. If you haven’t read the post, I suggest checking it out because honestly, it’s foolproof and wonderful (at least, if you’re making a proper grilled cheese which features two humble slices of American cheese).
A key step in my Grilled Cheese 101 is brushing bread with melted butter or butter alternative. I’ve since come to realize that while this is a worthy technique, we can actually do better. Two flaws with the original method.
Brushing melted butter on bread is effective but the process requires a lot of back and forth. I always wonder whether or not I’ve actually applied enough or too much. Have I sufficiently covered the whole slice?
Brushes trap melted butter in their thistles. Think of all the precious fat you are wasting! And that correlates directly with the next point:
Brushes are annoying to clean.
Luckily, I have a workaround, nay, hack, that addresses these concerns!
Ditch the brush
The other night I decided to make a grilled cheese. I was planning on doing the same old brush-the-butter on method, but unfortunately, my brush was in the dishwasher, and if you thought I was going to reach in there and wash it by hand, you are sadly mistaken. That’s when a novel idea struck me: what if instead of putting butter on bread, I put bread on butter?
First I assembled my sandwich as per the Officially Sanctioned Methods of NBD Fancy (in my case, two slices of American with mayo).
Then, instead of spooning some butter (or Smart Balance) into a ramekin for microwave melting - my standard practice - I instead plopped it onto a plate and stuck it into the microwave for about 30 seconds, or until the butter had become a puddle.
Next, I removed the plate and placed my assembled sandwich atop it. After a few seconds of sopping, I carefully flipped the sandwich so the other side could get some butter action.
As you can imagine, this simple adjustment worked perfectly. The plate allowed for maximum contact between butter and bread, which ensured evenness in coating. No more guesswork about coverage, and also - for what it’s worth - this technique was much faster than brushing. Added perk: rather than dirtying up a ramekin and a brush, I merely sullied a single plate (when it comes to dishes, I always believe fewer is better, even if we’re just talking about two small objects).
So, to recap: ditch the butter brush for a puddle plate.
But… we can do better. What if we also…
DITCH THE PLATE!
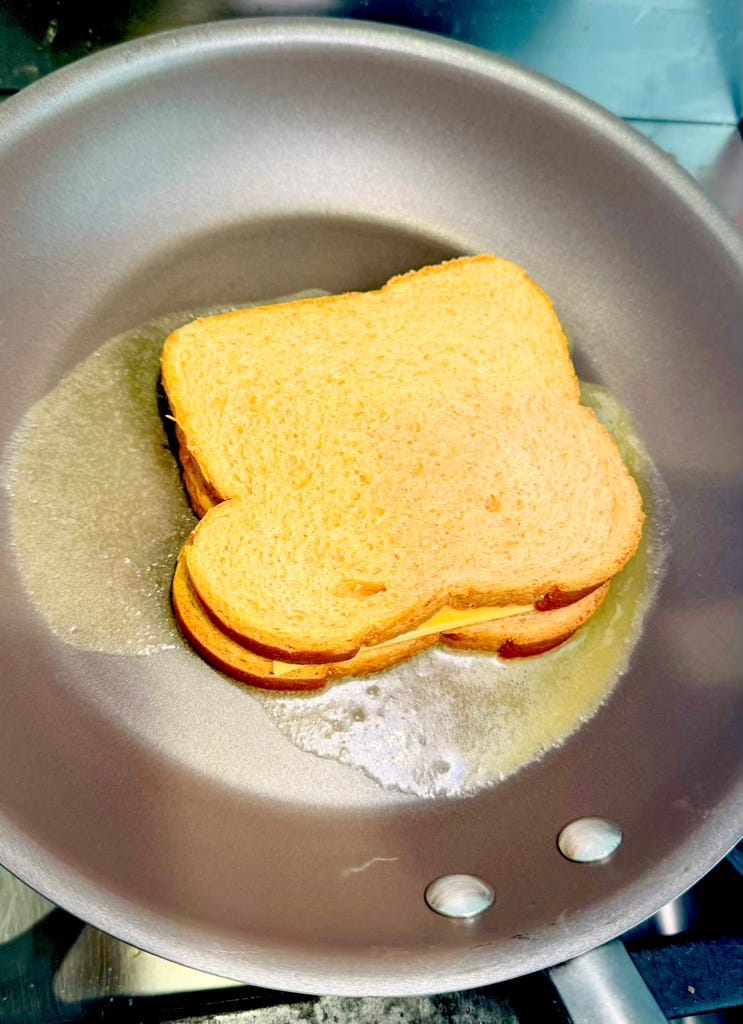
As I was writing this, it occurred to me that we can skip the plate entirely! We can just put the butter directly in the frying pan to melt. No need for a middle man. That’s right: it’s an impromptu hack for the hack. I was so excited by this (admittedly very basic) epiphany that I up and tried it immediately. And it worked!
Here are the adjustments.
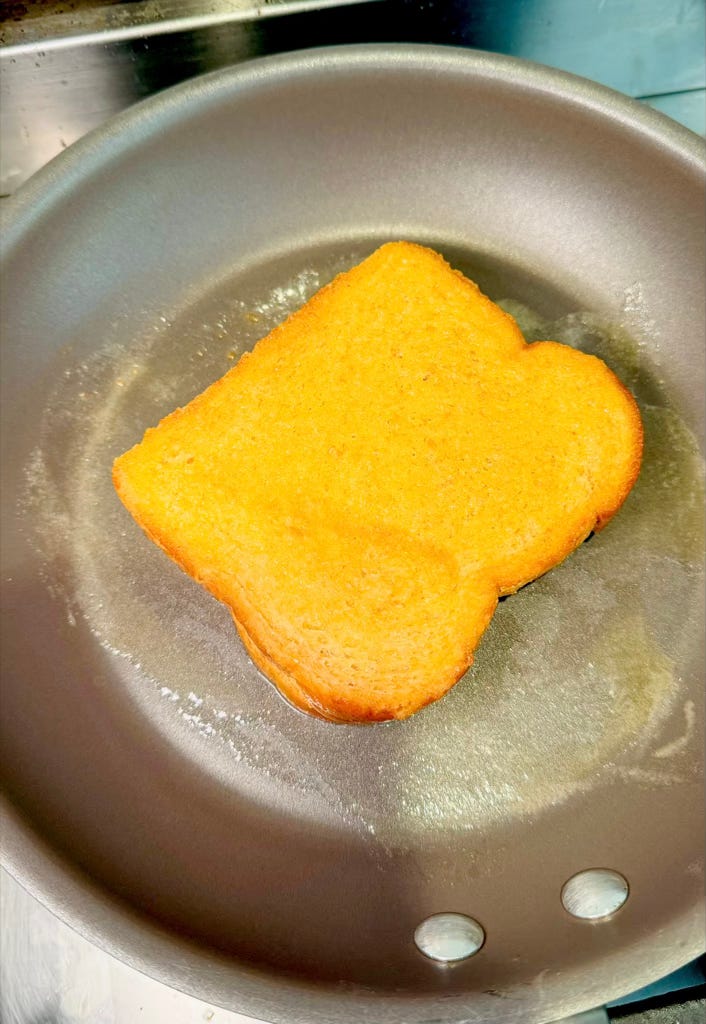
Spoon butter or butter substitute onto a microwaveable plate into a small frying pan and melt over a medium flame. As soon as a butter pond is established, cut the flame and add the sandwich, soaking on both sides briefly.
Raise the buttered sandwich with a spatula and add more fat to the pan if it looks dry (read: if your bread sopped up all the butter). You will not need much since you’ve already done some proficient buttering. I keep canola oil in an aerator thing; so I give one or two spritzes to the pan just to make sure we get proper browning.
Fat, as I learned from Samin Nosrat, helps create a more consistent surface area for heat transfer, filling in the little nooks and crannies in the bread and also the microscopic ridges in the pan. This promotes even browning and a crisp texture, which we like. That’s why I always ensure that a light slick of oil. Without it, you risk bread that is both too dark and too light. No one wants that.

Your bread is buttered, there’s fat in the pan, and your sandwich is currently levitating over the stove, courtesy of your spatula. It’s time to get cooking. Just follow the remaining steps on my Grilled Cheese 101, and you will be set.
Damn, I can’t believe I just came up with a hack for my hack. Of course, you can still do the plate-in-microwave trick if you don’t feel like messing with your pan. I will not judge. It’s all about eschewing spreading for soaking. Puddles over knives, if you will. Try it out and see if it improves your grilled cheese!

To Recap
Assemble sandwich, as per the instructions here.
Melt butter or butter alternative in the skillet you’re planning to cook the sandwich.
Turn off the heat. Place sandwich in the melted butter. Flip with spatula. Make sure both sides have absorbed the butter.
Raise the sandwich with a spatula, return the heat to medium-low, and add a spritz or a drop of oil to the skillet.
Resume cooking the sandwich, about 90 seconds on each side - covered and undisturbed.


Came here from Watch What Crappens! Love this simple and easy to follow recipe! I’ll be doing this the next time I make grilled cheese for sure 🥪 thanks Ben!!