A Journey with Mussels
Mussels are delicious and sophisticated, but are they worth making at home?
I love mussels. I will almost always order them if I see them on a menu. Whether they’re served in a wine-infused broth or a thick curry, mussels bring me extreme joy. There is literally no preparation of mussels that I don’t like. And when a bowl of them arrives before me and the shells clatter as I poke my fork around — or more likely my fingers — I get so, so happy.
First, there’s their flavor: briny, sweet, and… and… How does one describe them? I’m really struggling here. I literally just ate a bowl of mussels two hours ago and still can’t find the proper vocabulary to capture their flavor. I’m literally on a mussel high. Let me put it this way: mussels just taste like mussels, and I love them for that.
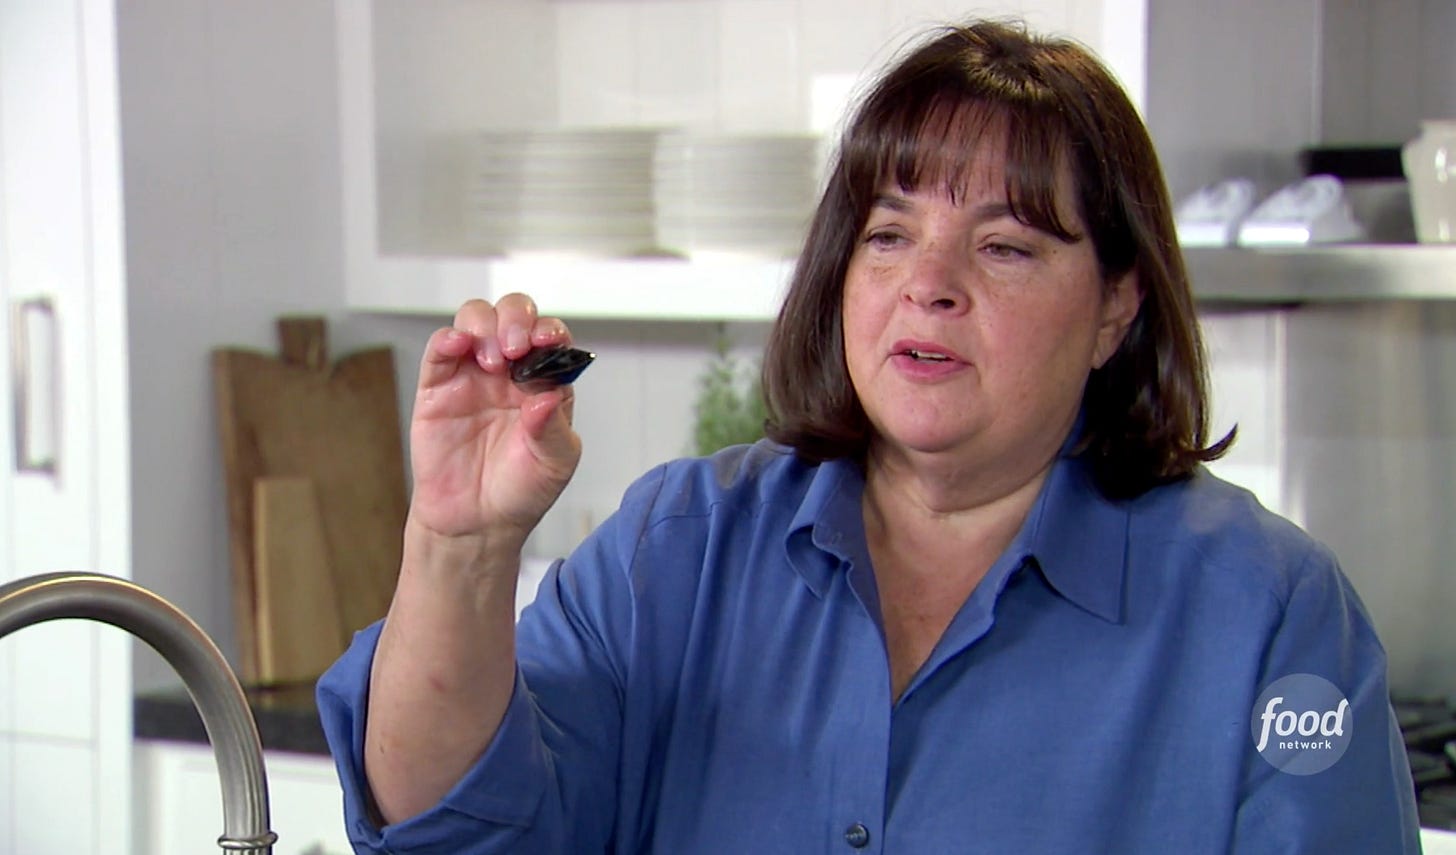
Eating mussels feels elevated, maybe even decadent, but never slovenly. They add a dash of casual sophistication to any meal. As I pluck the mollusks from their gorgeous black (or sometimes green) shells, I imagine myself as Ina Garten sashaying through her Hamptons compound, enjoying a breezy shellfish moment with a glass of white. If only life were always so effortless and chic.
That being said, I rarely cook mussels. Part of the reason is Los Angeles, which incidentally is where I live. Los Angeles is an easy punching bag for so many things — pollution, cultural decay, trucker hats. Here’s a new thing to add to the list: a subpar fishmonger presence! Yes, I’m coming in with a hot take. Los Angeles, despite being a coastal city with two of the largest ports in the nation (Long Beach and Los Angeles), does not have many fish counters relative to its size. Sure, there are fishmongers, but many of them are at least a 15 minute drive away (or 3,000 minutes in LA rush hour traffic). If I want mussels, sometimes I just don’t have the time or stamina to make my way to a fish specialist.
That leaves me stuck with whatever the supermarket has to offer, and for whatever reason, I never seem to find mussels. Sometimes the seafood case has like 10 of them lying on the ice, but they always look sad. And that makes ME sad.
The one saving grace is that when I go to the nearby farmers’ market, there’s usually a fish vendor peddling a wide variety of seafood. This has its downsides — namely that if I can’t make it to the farmers’ market, I have to wait a whole week before I can visit the fish monger again. But the upside, of course, is that it’s the most convenient way to access fresh fish.
So that’s why on a recent morning, as I was doddering about the farmers’ market like I was the star of a Nancy Meyers movie, I decided to visit the fish vendor, West Coast Seafood, who had set up shop near the entrance. The fates had truly aligned: I was both in the mood to cook mussels and there were mussels available for me to easily purchase. How could I resist? I bought a pound and a half of mussels and headed home. Now I just had to figure out what to do with the damn things. Since I make mussels so rarely, I didn’t want to mess up my precious ingredient. That’s when I asked myself the essential question: WWID?
What would Ina do?
I reached for Ina Garten’s Mussels in White Wine recipe for guidance. After all, if I wanted to transport myself into Ina’s world, I should start by following her instructions. Unfortunately, I was missing some key ingredients: saffron and canned plum tomatoes. I would have to improvise. This made me nervous. What if I my substitutions pivoted me away from Hamptons chic and into Sandra Lee sadness? There was clearly a lot on the line here, and I needed to focus. Just make a tasty broth and take it from there, I told myself. I could do that.
First order of business was pouring the mussels into a bowl of cold water. Easy enough. Then it was time for debearding, which involves tugging and/or slicing off the fibrous “feelers” extending from the mussels’ shells. Nearly every guide and how-to article will tell you that this process is easy and that farmed mussels usually don’t even have little beards to remove anyway. I’m starting to think these are falsehoods spread by Big Mussel. Debearding takes me forever, and even if the mussels are farmed, there are always beards. I’m sorry, but debearding is a hassle for me, no matter what anyone says.
This is my pissy way of saying that cleaning the mussels (which also included a wellness check on every shell) took me way longer than it should have. I began questioning why I even went down this path in the first place. What’s the point of mussels cooking swiftly when the prep time is so tedious and lengthy? Plus, debearding requires two bowls of water: one bowl for unprepped mussels, another for debearded ones. I HATE EXCESS BOWLS.
FYI – I am very open to hearing protips from people who know how to speed this process up.
After the debearding nightmare was over, it was time to disgorge any sand the mussels may have been harboring. I dropped a few spoons of flour into their bowl and sent them on their disgorging journey. The mussels would be soaking for about 25 minutes, so I used the downtime to harvest some cherry tomatoes and thyme from my garden box, a.k.a. Gail. The debearding had demoralized me a bit, but getting to source fresh ingredients from Gail had renewed my excitement over this dish. Anytime I can visit Gail, I’m thrilled.
The cherry tomatoes were cute, but there weren’t enough for a robust broth. I needed to do more scrounging. In the fridge I found some random Calabrian chilis that I’d purchased two weeks prior. They were still good, but I could tell they were resenting my neglect. I honored their patience by adding them into the recipe. I also found two shallots rolling around a basket — perfect for the broth base — and of course I grabbed lots of garlic. This wasn’t too far off from Ina’s recipe, but it was different enough that I felt like I was going out on a limb. Naturally, I was scared.
I chopped the aromatics and sautéed them in olive oil and some butter. While the veggies softened, I turned towards matters of soppage. I wanted to have something to dip into the mussel broth; so I pulled out a crusty loaf of sourdough from the back of my fridge and cut a thick slice, which I then slathered with Smart Balance. Why I suddenly felt the urge to introduce a “healthy” butter alternative beats me, but it’s what the heart wanted in that moment. I placed the bread slices on a tray (specifically, my new quarter sheet pan which I looooove) and set it aside for future toasting.
Back in the Dutch oven, my aromatics had softened, which meant it was time to raise the stakes: I added the cherry tomatoes, parsley, thyme, wine, salt, and pepper, as per Ina’s directions. I brought it to a boil and tasted for seasoning. The liquid was kind of bitter; so I added more salt until the flavor was just right. This was important. Once the mussels go into the pot, there’s no turning back; so it was key to make sure the broth was where it needed to be before moving forward.
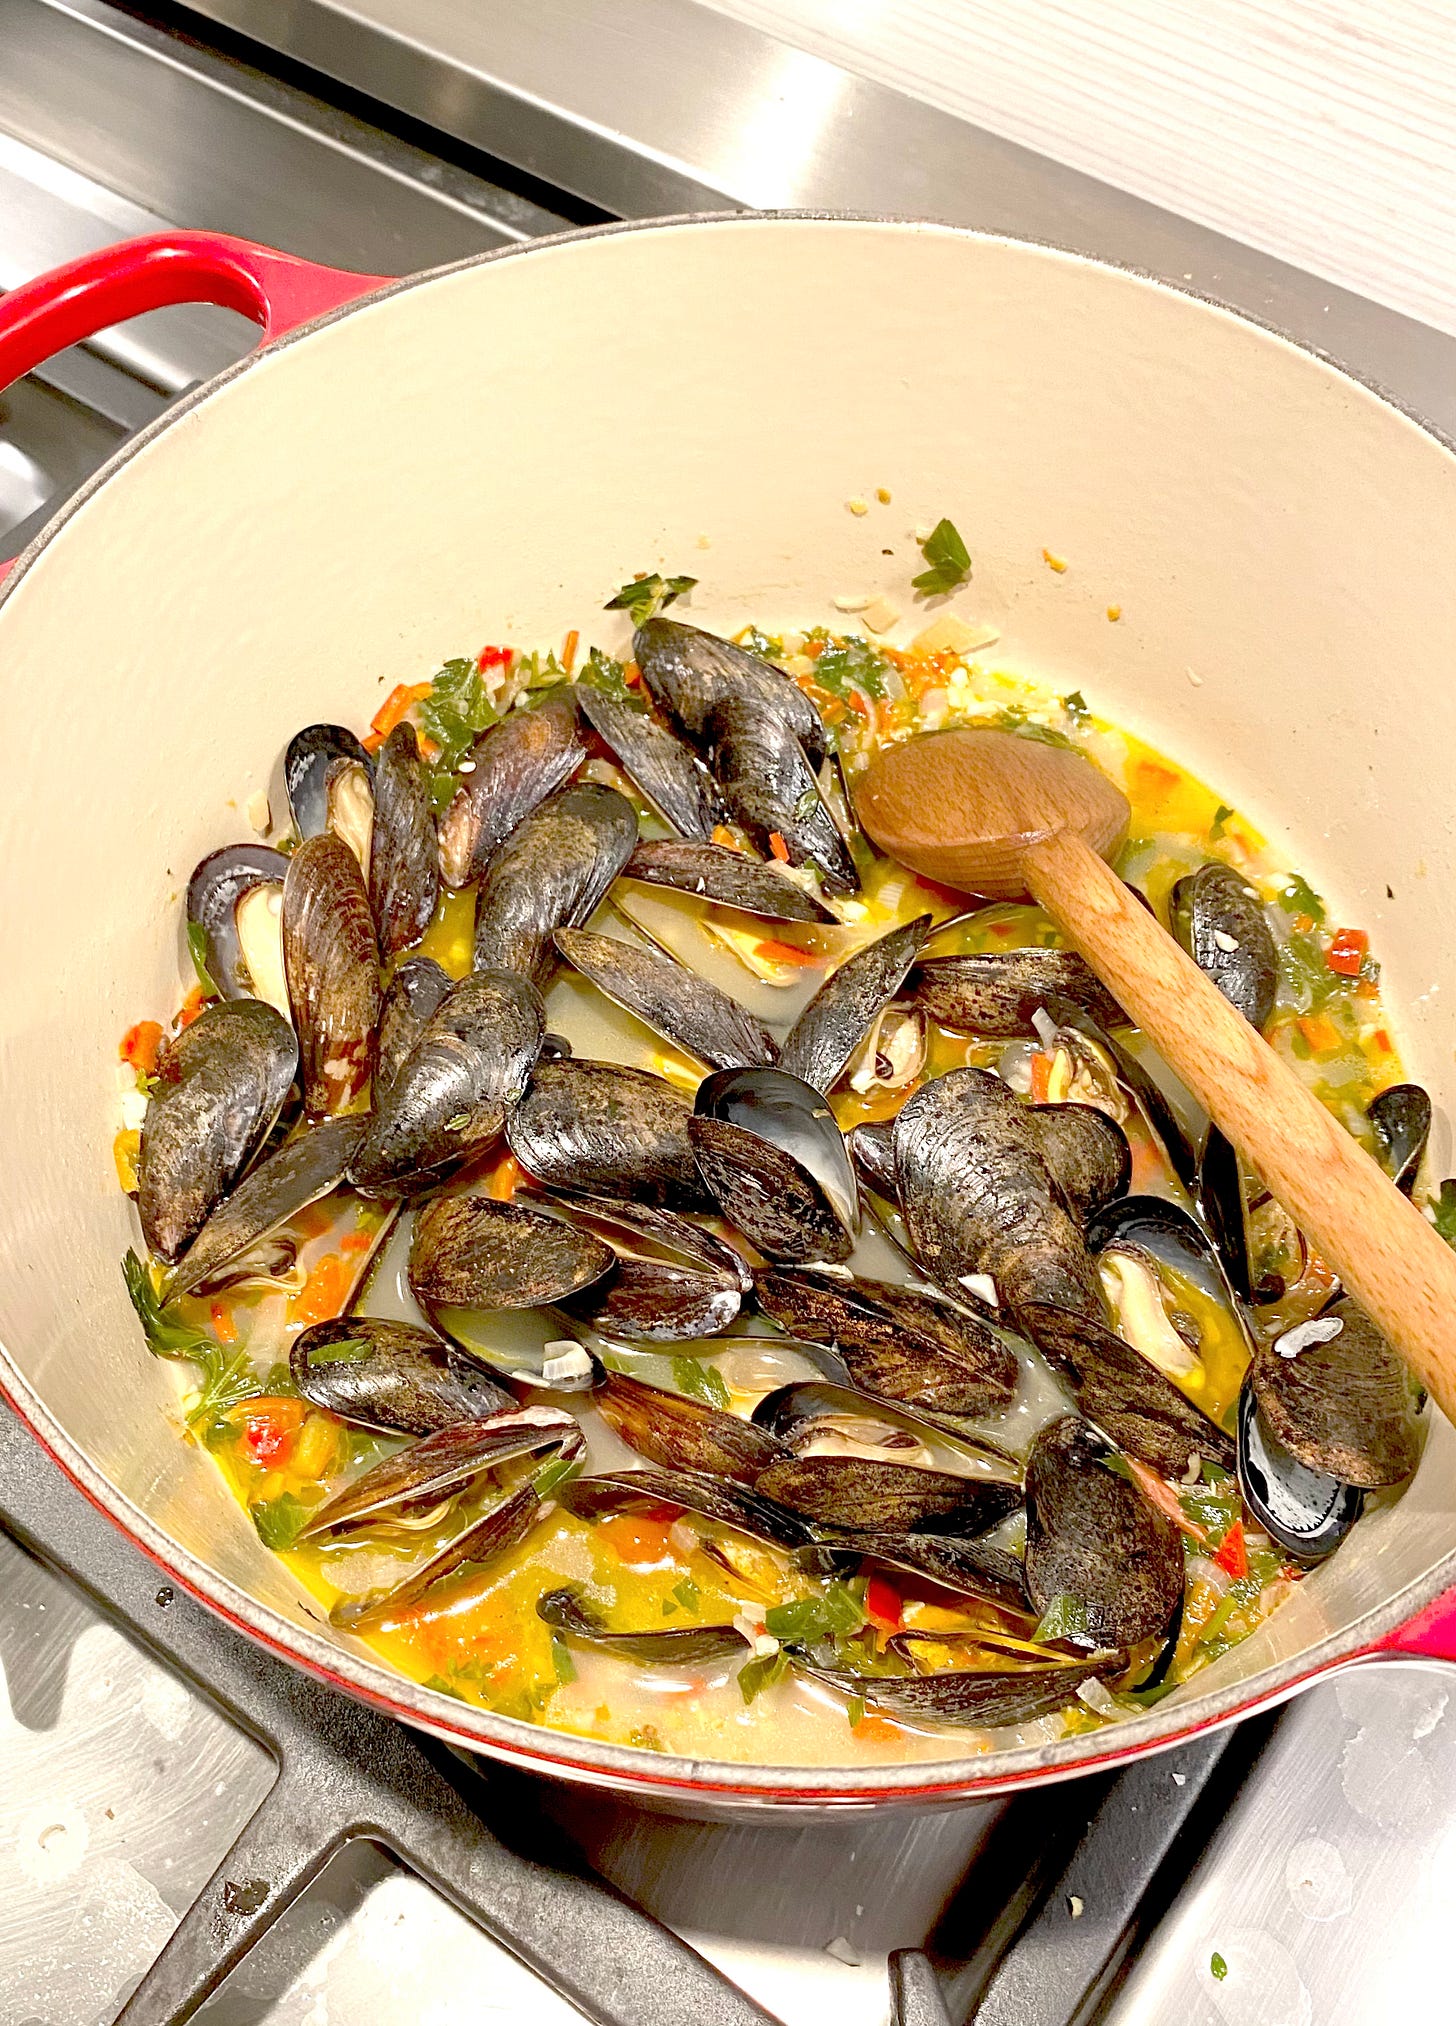
By this point, the mussels had been soaking for about 25 minutes. I carefully scooped them out of their bowl and into the Dutch oven. We were in the final stretch now. I plopped the cover onto the pot and reduced the temp to medium. Godspeed, mussels!
I now had the perfect window of time to toast my bread; so I switched on the broiler (because this was going to be a fancy toasting) and stuck the sheet pan under it. It only took about 90 seconds before the unmistakable scent of burning filled the kitchen. My broiler had fully attacked that poor bread with its intense heat. Had I not intervened (HEROICALLY), my precious sourdough would have burst into flame! Oddly enough, the SmartBalance served as some sort of protective barrier, which meant that instead of perfectly golden, glistening slices of toast, I had two pale pieces of bread with severely charred perimeters. Whatever. It would have to work. I’d come too far to lose my shit over dysfunctional toast.
Things I’ve learned since then: apparently, I should have baked the buttered bread at 350°F, not broiled it. And if I were to have broiled it, I should have applied the butter – or a butter alternative – afterwards. Now I know.
My kitchen timer beeped incessantly. The eight minutes were up. I checked on the mussels, and hallelujah, they were all open! And oh so beautiful. Despite the embarrassing near broiler fire, I was back to feeling like I was Ina Garten.
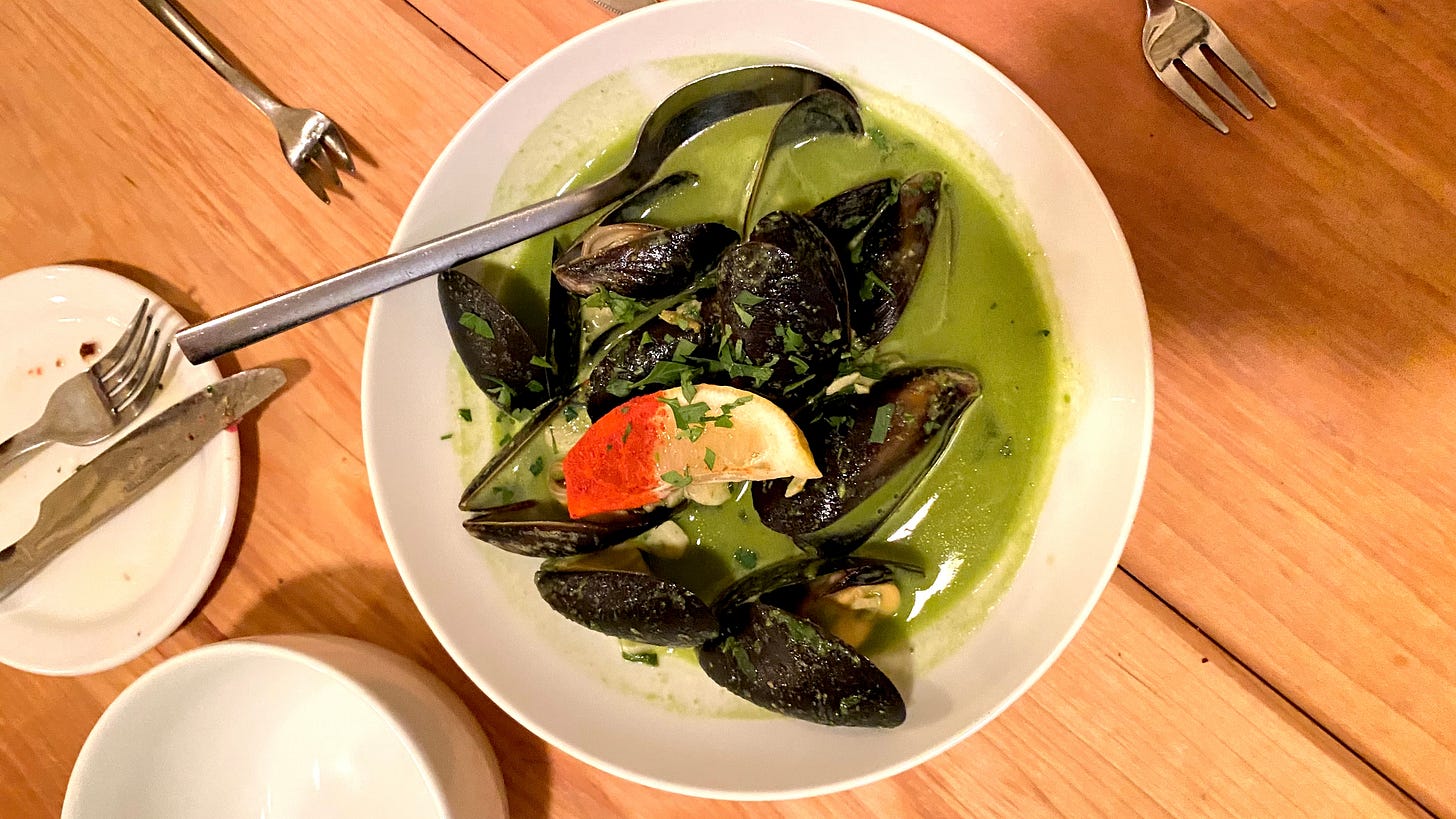
Time to serve dinner. I poured the mussels and broth onto a round platter with a high rim, and basked in my photogenic meal’s glory. The finished product was truly beautiful, but was it even worth it at this point?
Of course it was! The mussels were perfection, the broth was out of this world, and the toast — the toast was amazing! Well, not as amazing as if it had been topped with real butter, but amazing in its own SmartBalance-y way. The substitutions worked out great; proof that when it comes to broths, they’re pretty forgiving, especially when loaded with garlic. For all the effort that went into getting the mussels ready, I would and will 100 percent go on this journey again. Hopefully, with practice, I can speed up the process, and even though it’s still pretty annoying to source mussels reliably in Los Angeles, it will always be worth it to feel like Ina Garten in the kitchen, even for just a few minutes.
Again, here’s how I made the mussels — pretty much a variation on Ina Garten’s Mussels in White Wine:
Mussels in the Style of Ina Garten but Slightly Different
Ingredients:
Note: this preparation is for one person (me). Scale up as you see fit.
1.5 lbs of fresh mussels (purchased that day)
3 tbs flour
2 tbs unsalted butter + more for optional toast
2 tbs olive oil
1 cup of shallots (or red onion, scallions, or even well-washed leeks)
2 calabrian chiles (or 1 red bell pepper)
5 cloves of garlic
1 cup of cherry tomatoes
1 tbs fresh thyme leaves
1/3 cup flat-leaf parsley
1 cup white wine
2 tsp kosher salt
1 tsp freshly ground pepper
Crusty bread, ideally sourdough - optional
The Steps:
1. Clean and debeard the mussels. With your fingers and/or a small paring knife, remove the mussel beards if any. Pulling the beards towards the shell joint is usually good enough, but some are stubborn. Place the mussels into a bowl of cold water and add a few spoons of flour – about 3tbs or so. Let them sit for about 25 minutes.
a. I debeard then soak, but you can do it the other way around.
b. Mussels are delicate and need to be refrigerated as soon possible. When I pull them from the fridge for debearding, I put them in a bowl of cold water – just in case some are about to give up the ghost. Then one at a time, I pluck mussels from the bowl, debeard them, and drop them in a second bowl of cold water.
c. During this time, tap any mussels that appear to be open – even a little bit. If it doesn’t shut tight, it’s probably dead. Toss it. The old adage is a good one: when in doubt, throw it out.
2. Prep the ingredients. While the mussels chillax in the flour water, chop your shallots and chilis, mince your garlic, and slice your cherry tomatoes in half. Chop your parsley too. If you’ve got fresh thyme, this would be the time (resisting a pun) to pull the leaves from the twigs.
I guess you could leave the sprigs in whole, but I haven’t tested that; so, don’t hold me to it.
3. Start the broth. Melt the butter and olive oil in a large skillet or Dutch oven over medium heat. Once hot, add the first of your aromatics: the shallots and the chili peppers. Sautée for about five to seven minutes, until the chilis have softened. Add the garlic and cook about two minutes more or until it has softened too.
4. Add the tomatoes, thyme, parsley, salt, pepper, and wine to the skillet and bring to a boil. Reduce down to medium and taste the mixture. If it’s too bitter from the wine or parsley, add salt. Get it to a place where it tastes delicious to you. Shouldn’t be too hard.
5. Add the mussels to the liquid, give a stir, and then cover the skillet or pot. Cook for 8 to 10 minutes covered. Shake the skillet once or twice during this time.
6. While the mussels cook, feel free to engage in the toasting arts (this is optional, but is it really? Honestly?). Cut some thick slices of bread and stick them under a broiler for about a minute, keeping your eye on them in case they burn. Pull them when they’re as dark as you want, and slather with butter (or your choice of butter alternative).
7. After 8 minutes, remove the cover and check on your mussels. Most of them should be open. Remove the open ones to a bowl or a plate or whatever serving vessel speaks to your heart. Cover the skillet or pot again and cook for two more minutes. Discard any mussels that still haven’t opened and pour the remaining mussels and liquid into your serving vessel. Serve with your toasted bread and remind yourself that you are very sophisticated.
Do you have any go-to mussels recipes? And any tips to speed up the process? Thanks for reading!


I appreciate the way you improvised, with some trepidation, to keep going and find a way to make this recipe happen. Mussels are only something I get in restaurants and this makes me want to try it at home. Thanks for the recipe.
For your bread next time, what do you think about drizzling olive oil after rubbing with fresh garlic on it?
Yours/Ina’s recipe sounds delicious.
I had no idea about putting flour in the water. Great tip.
I am a good cook, but mussels freak me out because of the de-bearding and sand removal process. You’ve encouraged me to give it a go!